

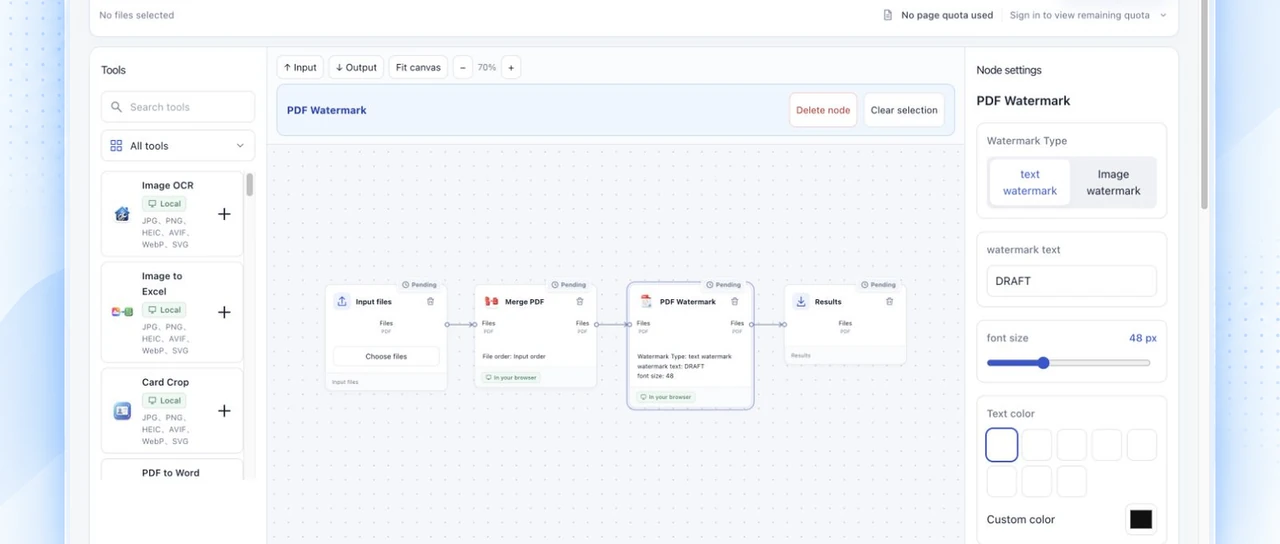
Build a reusable PDF workflow
To combine several PDFs and apply the same watermark, open OOCCRR Workflows, connect Input files → Merge PDF → PDF Watermark → Results, then configure the nodes. The merged PDF becomes the watermark tool's input, so you can prepare the sequence without passing an intermediate download between separate pages.
A PDF workflow saves operations, their order, and their settings for repeated use. This is the same general principle behind guided actions in Adobe Acrobat: applying a defined sequence of configured commands to documents.
In OOCCRR, you can edit and export the workflow freely. To execute it on the international site, sign in with Google and have an active OOCCRR membership.
Choose the workflow for your files
| Your goal | How to arrange the tools |
|---|---|
| Combine a report and its appendix, then mark the complete document | Merge PDF → PDF Watermark |
| Watermark several documents while keeping them separate | Use PDF Watermark without merging first |
| Reuse the same processing settings next week | Export the workflow configuration and import it for the next batch |
This tutorial covers the first arrangement. Both Merge PDF and PDF Watermark process files in your browser and do not consume the shared page quota. The workflow execution membership requirement still applies. Adding other tools can change the processing location and quota requirements, so check each node.
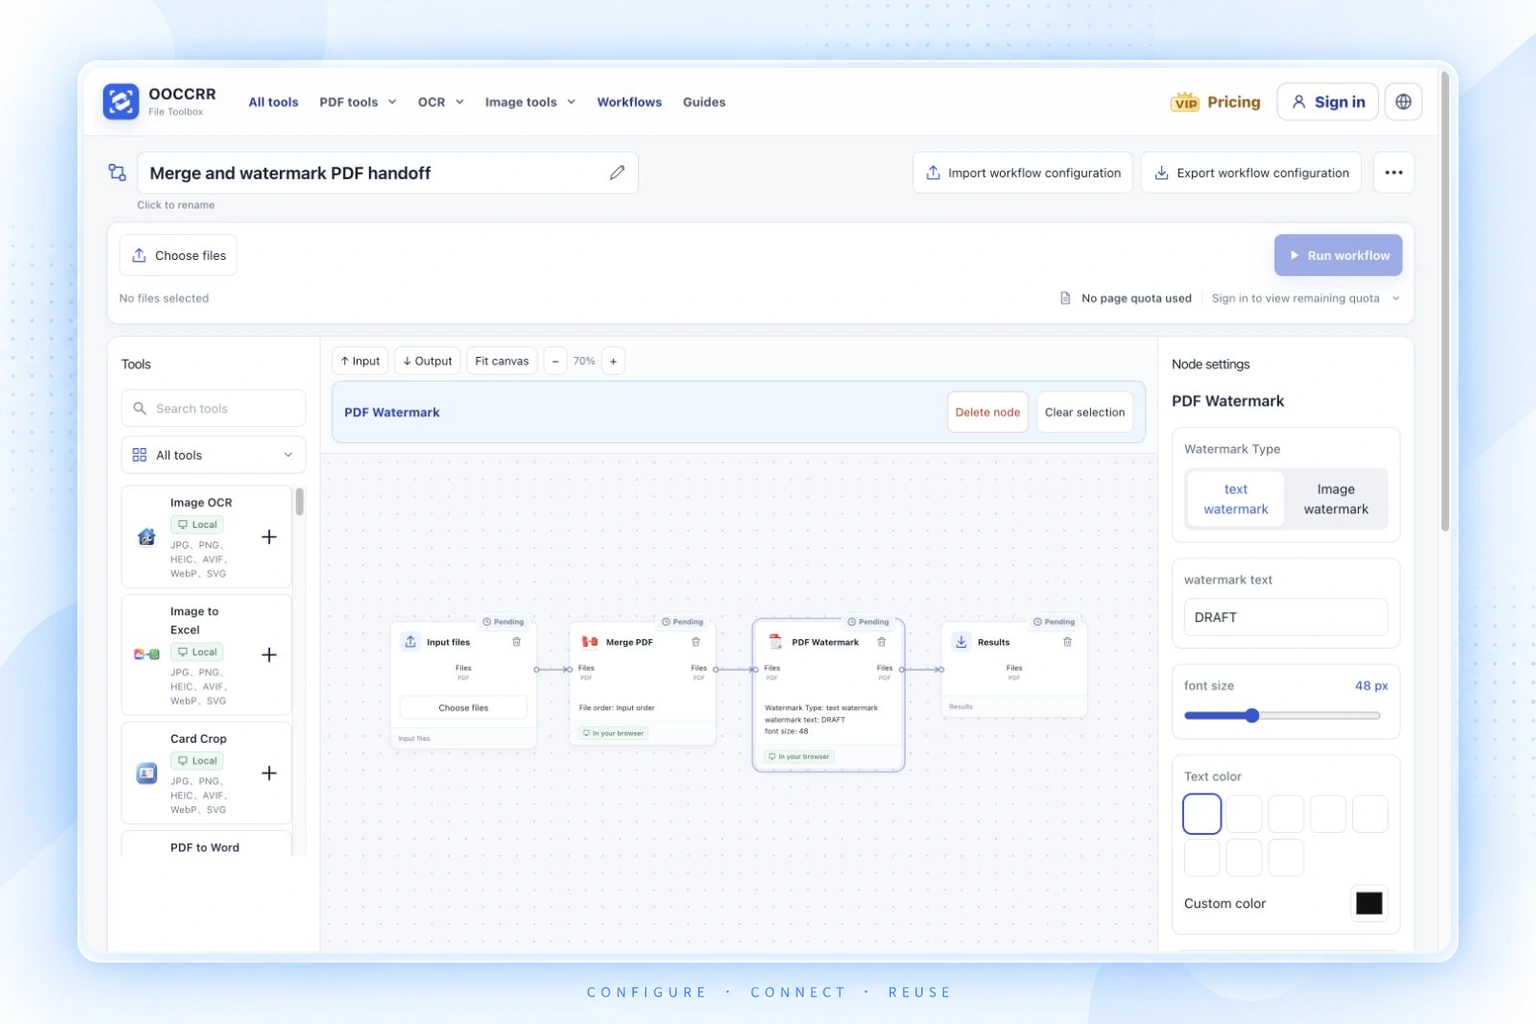
The image starts from a screenshot of the real workflow editor, with its background and composition refined using AI. It shows the connections and node settings before files were selected or the workflow was run.
Step 1: Open the canvas and check the input
Open Workflows. The starting example connects an input node, Merge PDF, and a Results output node. Rename the workflow so you can recognize the saved configuration later.
Select Input files and check that PDF is an allowed format in Node settings. For this example, prepare ordinary PDF files that you can already open, such as a report and an appendix. Keep their original copies for comparison.
Step 2: Insert the watermark tool
Select the connection between Merge PDF and Results, then choose Insert tool. Search for PDF Watermark and select it. OOCCRR inserts the tool into that connection and connects both sides automatically.
The insertion list contains tools whose default settings are compatible with that connection. If a tool is missing, check the upstream output format and the intended downstream input before changing the arrangement.
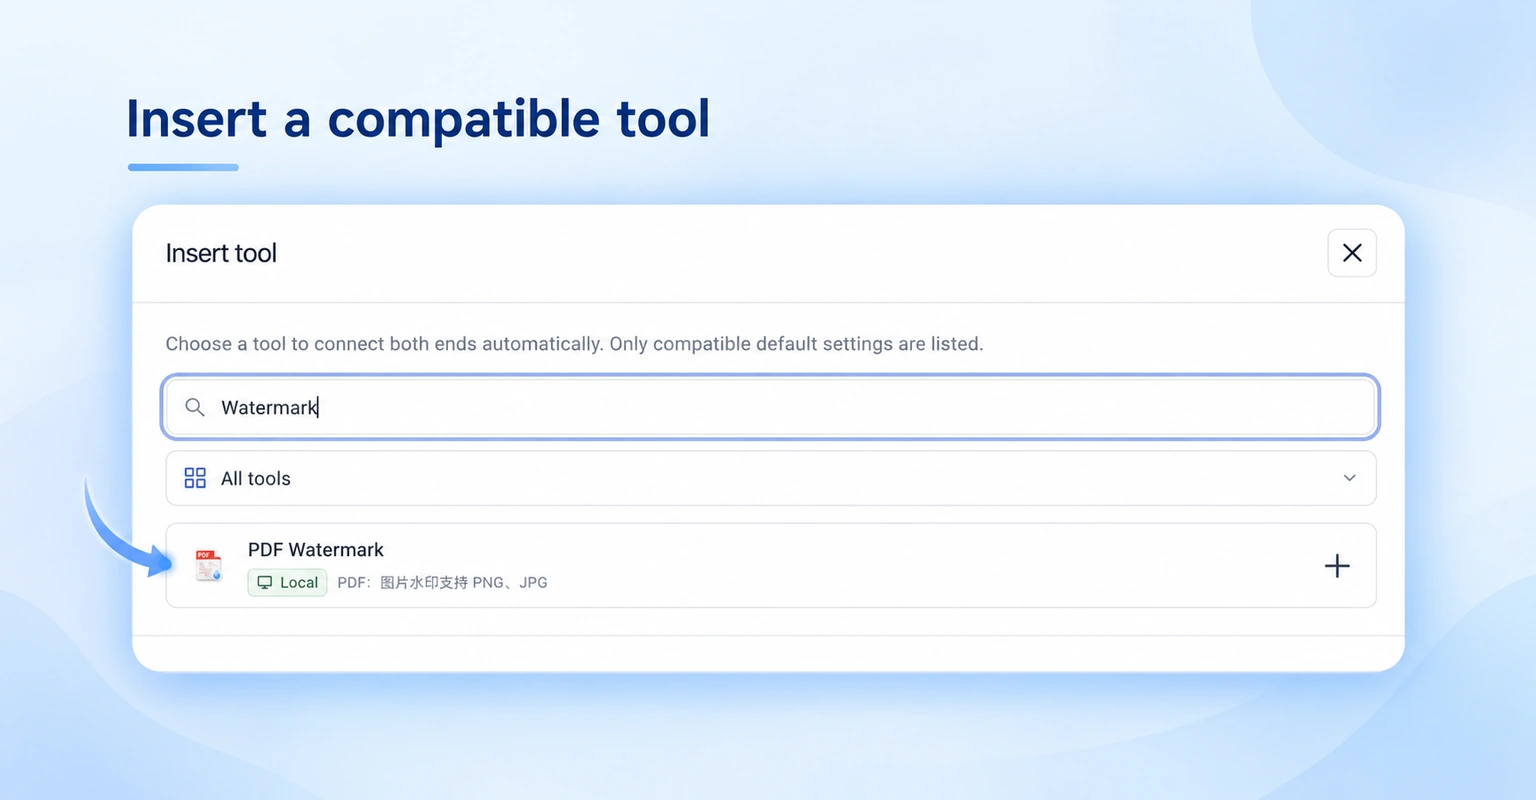
The real Insert tool dialog is refined with AI. The blue arrow and outline are editorial annotations; select the candidate to add it. No files have been processed at this stage.
Step 3: Configure the nodes
Select Merge PDF. For a single combined document, set Processing scope to All inputs together. Review the file order setting: input order and filename order can produce different report sequences. The standalone Merge PDF tool is also available when merging is the only task you need.
Select PDF Watermark and review its settings. Choose text or image, set the appearance, and decide which pages should receive the watermark. Check opacity and placement against your document's content. With an image watermark, provide the image for the current run in Run preparation.
For the screenshot, the text watermark was set to DRAFT, with a 48 px font size, 30% opacity, a −30° angle, and All pages selected. These values illustrate the controls; choose settings for your own document and inspect the exported PDF for readability.
Select Results to choose the download method. Automatic downloads one file directly and packages multiple files as ZIP. ZIP package packages the available results into one ZIP file. The result format comes from the upstream tool.
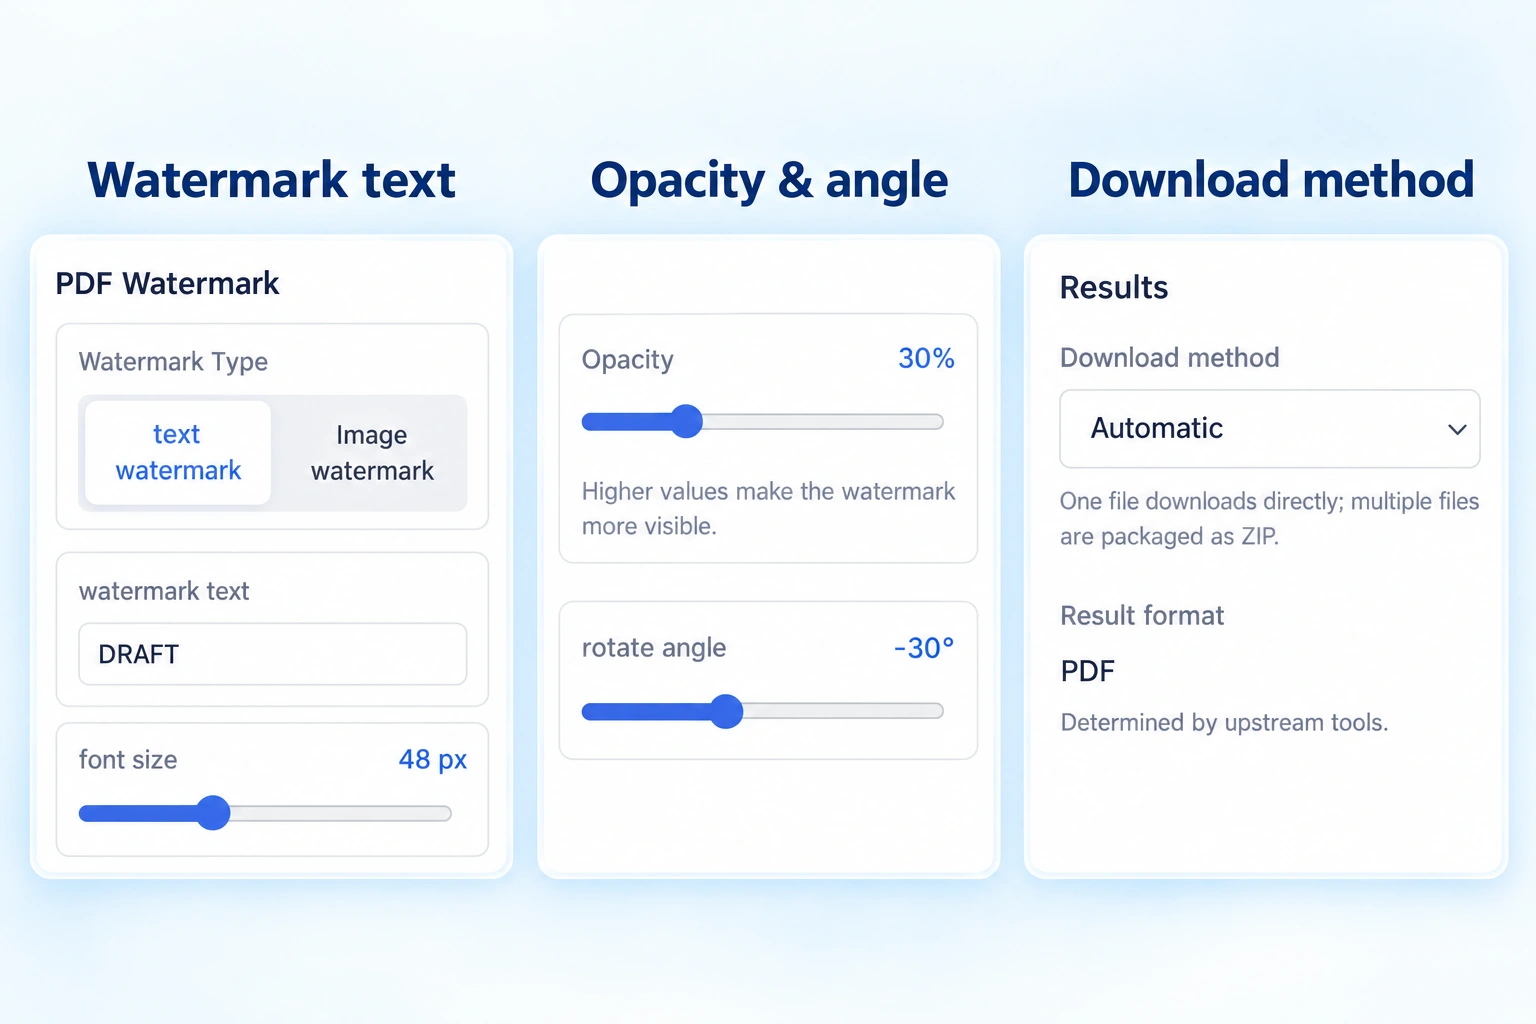
Three excerpts from the real watermark, appearance, and output settings are arranged together and refined with AI. They show configuration before execution.
Step 4: Choose files, run, and verify
Click Choose files and select the PDFs for the input. After selection, Run preparation lets you review the inputs and provide any required materials. Resolve issues shown by the editor, then select Run workflow. Sign in with Google and activate membership if prompted.
After a run produces a downloadable result, open the exported PDF and check:
- The report and appendix appear in the intended order.
- The total page count matches the source documents.
- The watermark appears on the intended pages and leaves important text readable.
If a node reports a failure, inspect its message before retrying. Retry failed items and Exclude failed items are available where the tool supports them. A downstream node can remain blocked until its upstream problem is resolved.
Step 5: Save the configuration for reuse
Select Export workflow configuration at the top of the page to save the JSON file. Next time, choose Import workflow configuration at the top, review the nodes, and select the new source documents.
The JSON saves the workflow definition and layout. It excludes source files, materials such as watermark images, and passwords. Importing a configuration therefore does not restore a previous batch's files or processing results.
Frequently asked questions
Q: Is this a flowchart drawing tool?
The canvas represents an executable file workflow. Its connections pass supported outputs between processing tools. Use it to arrange document operations and reuse their configuration.
Q: Do I need membership to create a workflow?
You can edit the canvas and import or export its configuration freely. Running the workflow requires Google sign-in and an active membership on the international site.
Q: Are all workflows processed locally and free to run?
The merge and watermark nodes in this example run in your browser without consuming shared page quota. Execution still requires membership. Other tools may use cloud processing or consume quota; check their labels and settings.
Q: Does the workflow JSON include my documents or passwords?
No. It contains the configuration, not your documents, runtime materials, or passwords. Provide those inputs again when you reuse it.
Q: Can I keep each PDF separate instead of merging them?
Yes. Connect the input to PDF Watermark and then to Results, leaving out Merge PDF. Check the download method for the resulting files. Start with the simple arrangement in Workflows and extend it when your task requires another operation.